Resin art is a popular form of contemporary art that involves pouring a resin mixture onto a surface and creating a unique and eye-catching design. This technique has gained popularity in recent years due to its versatility, durability, and glossy finish. In this guide, we will provide you with all the information you need to know to create stunning resin art pieces.
What is Resin Art?
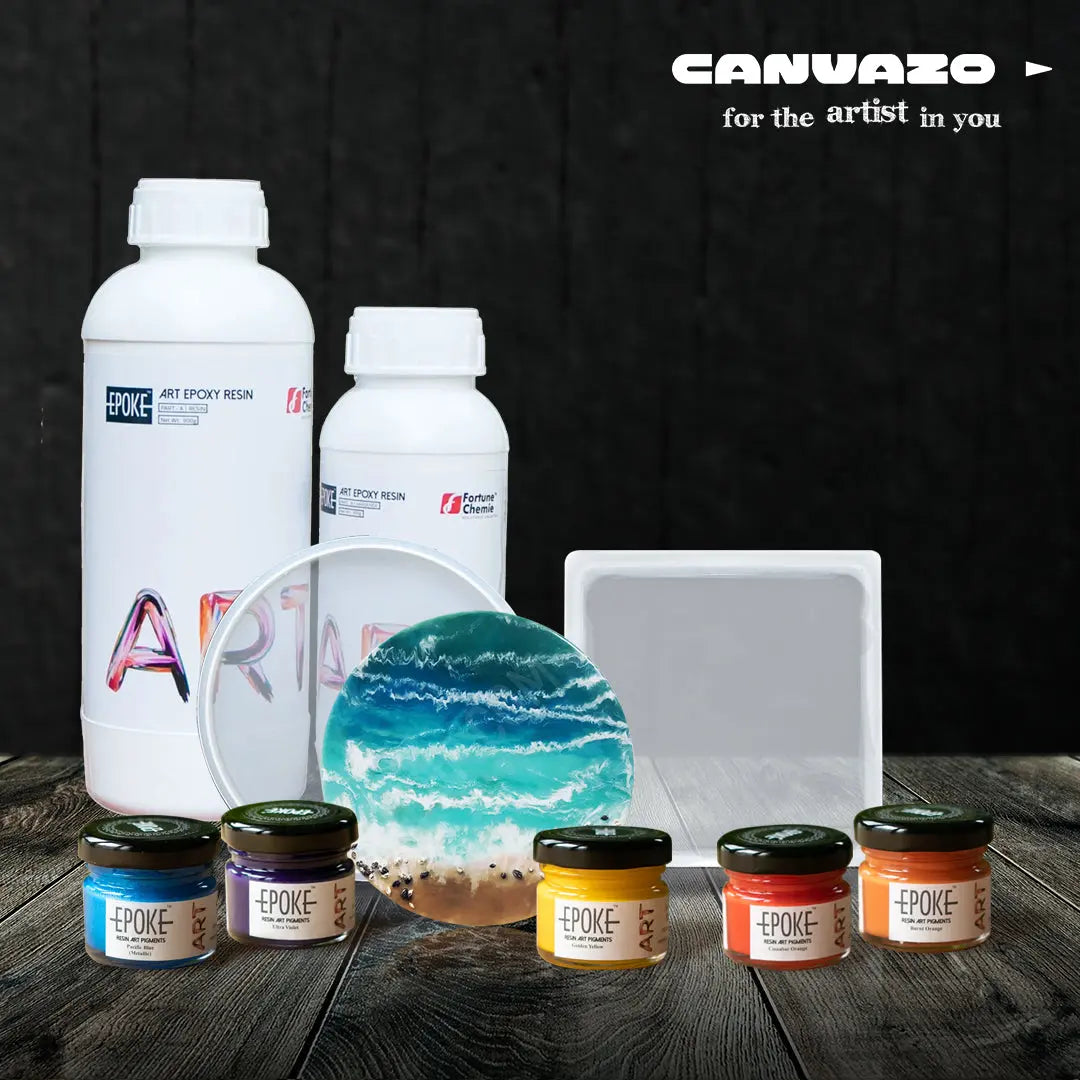
Resin art is a technique that involves combining resin and a hardener to create a clear, glossy, and durable finish. Resin is a type of synthetic polymer that can be molded, cast, or formed into various shapes. There are two main types of resin used in resin art: epoxy resin and polyester resin. Epoxy resin is the most commonly used resin in resin art because it has a high gloss finish, is easy to use, and is relatively safe. Polyester resin is also used in resin art, but it has a stronger odor, is more toxic, and requires more safety precautions.

Materials Required for Resin Art
To create resin art, you will need the following materials:
-
Resin and hardener: As mentioned earlier, epoxy resin is the most commonly used resin in resin art. Make sure to use a high-quality resin and hardener that are compatible with each other.
-
Mixing cups and sticks: To mix the resin and hardener, you will need mixing cups and sticks. Make sure to use a clean and dry mixing cup to avoid any contamination.
-
Pigments and dyes: Resin art allows for a wide range of color options. You can use pigments or dyes to create the desired color and effect.
-
Heat gun or torch: A heat gun or torch can be used to remove any air bubbles and create a smooth surface.
-
Protective gear: It is important to wear gloves, a respirator mask, and protective clothing to avoid any contact with the resin and hardener.
-
Surface: Resin can be poured onto various surfaces, such as wood, canvas, glass, and plastic. Make sure to prepare the surface before pouring the resin mixture.
Creating Resin Art
-
Prepare the surface: Clean and dry the surface before pouring the resin mixture. You can also apply a primer or paint to the surface to create a base color.
-
Mix the resin and hardener: Follow the instructions on the resin and hardener package to mix the two components. Make sure to mix thoroughly to avoid any lumps.
-
Add pigments or dyes: Add the desired amount of pigments or dyes to the resin mixture and stir well. You can also create layers of different colors to create a unique design.
-
Pour the mixture: Pour the resin mixture onto the prepared surface and use a heat gun or torch to remove any air bubbles. You can also use a stirring stick to create swirls and patterns.
-
Wait for the resin to cure: The resin will need time to cure and harden. Follow the manufacturer's instructions for the curing time.
-
Finish the surface: Once the resin has cured, you can sand the surface to create a smooth finish. You can also add a layer of varnish to enhance the glossiness and protect the surface.
Tips for Resin Art
-
Follow the manufacturer's instructions for the resin and hardener, and use the correct ratio.
-
Wear protective gear and work in a well-ventilated area.
-
Use a heat gun or torch to remove any air bubbles and create a smooth surface.
-
Experiment with different colors and techniques to create unique designs.
-
Use a clean and dry surface for best results.


